
Most photographers worry about dirty lenses. Fewer think about the dirt that lives inside the cleaning kit. A cloth that rides loose in a pocket, a brush stored with its bristles pressed against a zipper, or a bottle that leaks in a bag can all turn a helpful tool into a scratch risk. This guide focuses on one practical problem: how to care for camera cleaning kits between shoots so every tool is safe the next time you reach for it.
1. Why the Kit Itself Becomes the Problem
A cleaning tool works by picking up contamination from a surface. That means every use leaves something on the tool: oils, fine dust, salt or grit.
This is why a worn, grimy cloth can leave streaks instead of removing them. It is also why gritty debris trapped in a brush can scratch a coating that was perfectly fine before you started cleaning.
The goal of kit care is simple: keep each tool as clean as it was on the day you opened it, or replace it before it becomes a liability.
2. How a Clean Kit Turns Into a Dirty One
Contamination usually arrives through ordinary habits rather than carelessness. Understanding the routes helps you block them.
- Loose storage: tools rubbing against keys, coins or gear pick up abrasive particles.
- Open pouches: dust and sand drift in during outdoor shoots.
- Finger contact: touching the working surface of a cloth or swab transfers skin oils.
- Cross use: using the same cloth on a lens, a viewfinder and a camera body spreads grime between them.
- Moisture: a damp cloth sealed in a pouch can harbor mildew or attract grit.
None of these require special equipment to prevent. They require a routine.
3. Building a Simple Storage Routine
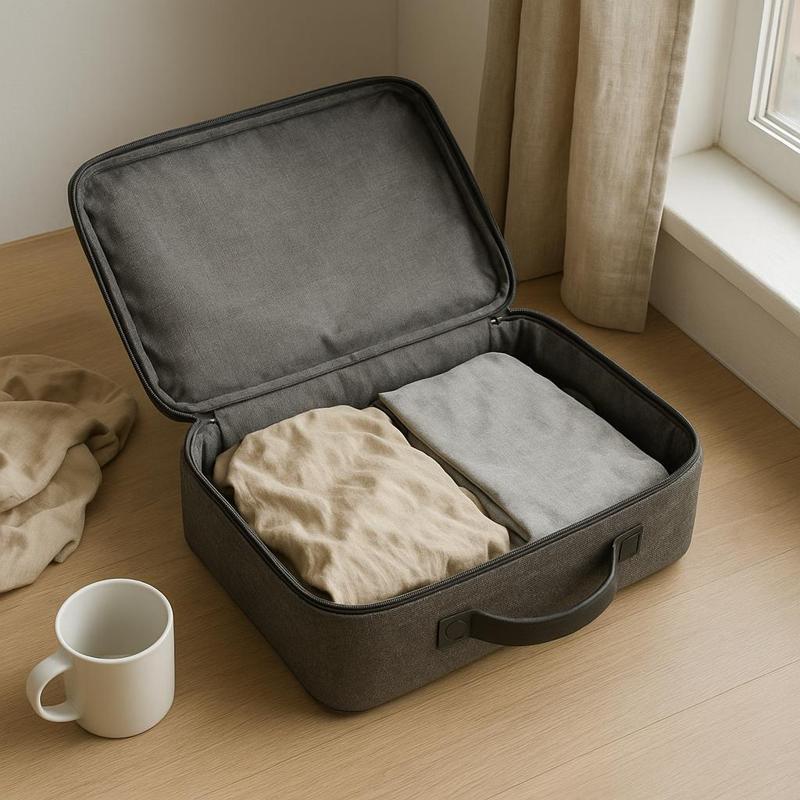
Start with one rule: every tool gets a defined home. A kit that arrives in a zippered case already gives you that structure.
Keep the cleaning case in a consistent spot in your bag, ideally in a separate compartment from lenses and bodies. If your bag has adjustable dividers, a camera organizer insert can carve out a protected pocket so the kit never shifts against your gear.
After each session, take thirty seconds to check three things:
- Are all tools back in their slots?
- Is anything visibly dirty or damp?
- Is the case fully closed?
That brief check prevents most long-term contamination problems.
4. Caring for Microfiber Cloths
Microfiber cloths are the most used and most abused part of any kit. They hold fine dust deep in the weave, so they should be treated as consumables with a clear lifecycle.
Keep one cloth per job
Reserve your cleanest cloth for glass surfaces only. Use a second cloth for camera bodies, grips and dials. A third, older cloth can handle bags, tripod legs and other rough surfaces.
Hold by the edges
Fold the cloth so the face you wipe with stays untouched by fingers. Skin oils are the number one cause of smearing on a freshly cleaned lens.
Wash gently and let it dry fully
When a cloth is visibly soiled, hand wash it in lukewarm water with a small amount of mild, fragrance-free soap, rinse thoroughly and air dry.
Retire it before it fails
If a cloth feels stiff, shows stains that will not wash out, or leaves lint, replace it. A fresh cloth costs far less than a damaged coating.
5. Keeping Blowers, Brushes and Swabs Reliable
Dry tools deserve the same attention. A blower is the safest first step on any lens, but only if the air coming out is clean.
Store a rocket blower with its nozzle facing up or sideways, not pressed against the bottom of a bag where it can draw in grit.
For retractable lens brushes, always retract the bristles into the cap when finished. An exposed brush collects dust and picks up oils from anything it touches.
Single-use swabs and wipes should be kept sealed until needed. Once a packet is opened, use it that day. A dried-out swab can drag particles across glass instead of lifting them. For a deeper look at choosing individual tools, the lens cleaning tools range covers brushes, blowers and swabs sold separately.
6. Handling Cleaning Fluid and Travel Packing
Cleaning solution is the part of a kit most likely to cause a mess. Follow a few habits and it stays reliable.
- Check that the cap is tight before packing and seat the bottle upright in its own slot.
- Apply fluid to the cloth or swab, never directly onto the lens, so liquid cannot seep behind the glass edges.
- Use a small amount. Too much solution leaves residue that takes extra effort to remove.
- Keep the bottle out of direct sun and out of a hot car, since heat can change how a solution behaves.
- Wipe the bottle neck before closing so dried residue does not build up on the cap.
For travel, consider the space around the kit as well. If your gear travels in a padded case, review the camera bags and cases options to find a model with a spot for small accessories. A cleaning kit rattling loose among batteries and cables defeats the purpose of owning one.
When flying, remember that liquids may be restricted in carry-on baggage, so check the current rules for your route and pack fluid accordingly.
7. Setting a Replacement Schedule
Even well-kept tools wear out. Rather than waiting for a failure, set a simple rhythm. This is a practical rule of thumb, not a manufacturer specification, so adjust it to your environment.
- Microfiber cloths: inspect monthly if you shoot often; replace when stained, stiff or linting.
- Brushes: replace if bristles bend, shed or look discolored.
- Swabs and wipes: single use, discard after each session.
- Fluid: replace if it changes color, smells odd or leaves residue.
- Blowers: replace if the bulb cracks or no longer rebounds quickly.
Shooters who work at beaches, deserts or dusty events will cycle through tools faster than studio users. That is normal and worth planning for.
8. Summary Checklist
Caring for a cleaning kit takes minutes, yet it protects the lenses, screens and sensors you rely on. Keep this short list in mind:
- Give every tool a home and keep the case closed.
- Separate cloths by job so lens glass only meets your cleanest one.
- Hold cloths by the edges and wash them gently when soiled.
- Retract brushes, keep blower nozzles clear and use swabs once.
- Pack fluid upright, apply it to the cloth and wipe the bottle neck.
- Replace worn items on a regular schedule.
If your current kit has seen better days, the FrameLab store is a good place to browse tools built to keep optics and screens clean. Whatever you choose, remember that a clean tool is the first step toward a clean lens.